Celebrations Ideas, IClicknPrint Projects, Thanksgiving Day
Making a Paper Turkey Tutorial

Its the last Thanksgiving craft before the big day!
Here is a simple and super easy tutorial for a paper turkey roll that your kids can work on while you prepare one of – if not the biggest meal of the year.
Supplies that you will need to make your paper turkey:
- A toilet paper or paper towel roll – A piece of poster board or foam board (any size will work)
- Glue
- Paint brush
- Glitter glue
- Googly eyes
- Package of E-Z Print Primary Variety Sign Board
Directions:
- You can start by cutting your paper towel or toilet paper roll in half. You can also cut a piece of foam board or poster board into a half moon shape, which will be used as the body.
- Then, you can use the E-Z Print Variety Pack, and choose the colors you would like for the turkey’s “body parts.” Orange or red are perfect for the beak, and orange, black, or brown can be used for the feet.
- Next, you can paint the paper towel or toilet paper roll if you would like. Or you can leave it as is, since its already brown.
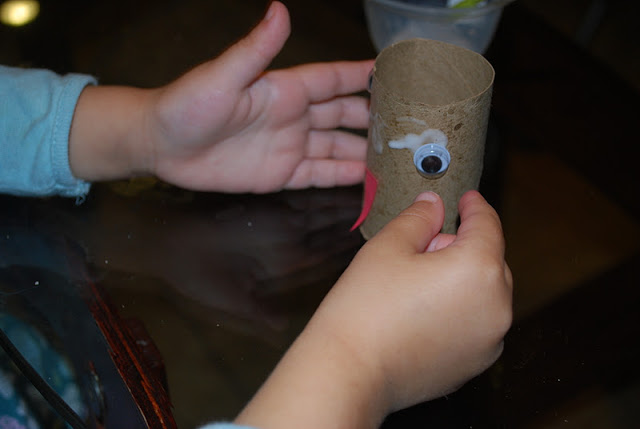
- Glue your turkeys parts onto the roll, adding the eyes, beak and feet.
- Sit the body to dry, and while your project is drying, you can move onto the fun part – creating the feathers for your paper turkey roll!
- While loose glitter can be used, glitter glue is perfect for younger children who like to get messy with their crafts. You can use a dish for the different colors of glitter glue, and add to your projects with a paint brush.
- Once the plates are dry, you can now attach your turkey roll. You can use tape or glue for this step, as well as adding the feet to the bottom.
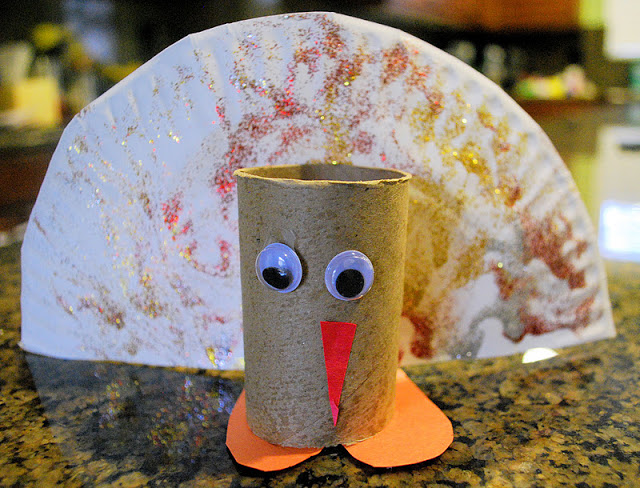
- Here is the end result – a cute handmade paper turkey for the holidays! They make for great home decor!
Visit www.iClicknPrint.com for more ideas for crafts at home!


 .
.


