DIY Arts & Crafts Projects
Craft a Fox Box with Card Stock & Stickers
Gather all the materials you need:
- Printed Paper : You will need 3 sheets of paper that has a print on one side or a decorative origami paper
- Scissors or a straight-edge cutter
- Stickers (optional)
- Treasure or Trinket (optional)
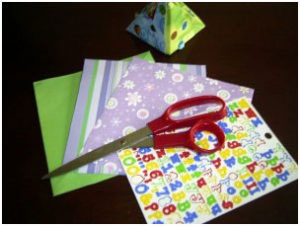
1. Carefully cut out 3 squares, one from each sheet of paper. The best measurement is 6 inches by 6 inches but you can make it smaller or larger depending on the end result that you would like. If your child is able to cut the paper by himself, then feel free to allow him to do so.
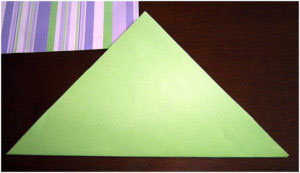
2. Give your child one piece of paper and have him fold it in half diagonally until the top edge is in line with the bottom edge.
Your child should be left with a large triangle.
Make sure that the print is on the outside of the triangle.
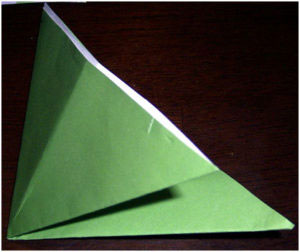
3.Fold the triangle in half to form a new, smaller triangle by bringing the corner over to the side of the other corner.
Have your child crease the paper and then fold the triangle open again to reveal the first triangle with a crease down the center.
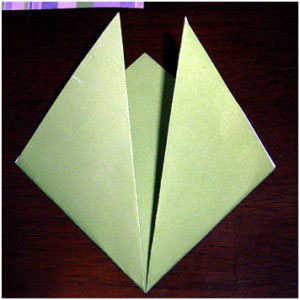
4. Now you are ready to create a square with the paper.
Have your child take one corner from the bottom of the triangle and fold it along the crease that runs down the center of the large triangle. Crease the paper and then unfold it.
Flip the paper over and fold the same piece to the center fold, crease and then fold it back.
This should create a hinged crease where the paper can fold both ways without difficulty.
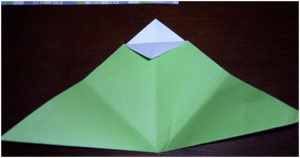
5.Repeat the process with the other corner of the paper. Your child will be left with a small square of folded paper.
6.At the top of the large triangle, fold down one edge so there is a small white triangle showing at the top.
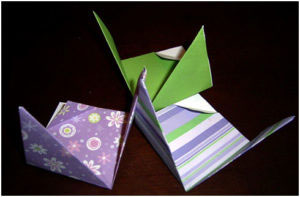
7. Repeat steps 2 to 6 with the other two pieces of paper.
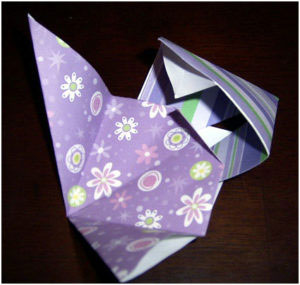
8. Once you have all the paper folded, it is time for your child to start assembling his fox box. At this point, depending on your child’s age, you may need to assist your child with the assembly. Take two of the folded papers and slide them together. To do this, you slide the two small triangles, “ear shaped paper” between the folded paper at the top of the large triangle with the other paper. This means that the two smaller triangles will slide under the small white triangle in the main body of the paper.
9. With the third piece of paper, repeat the process except you will need to close the box by sliding the small triangles under the third paper. Crease the paper whenever needed as you make the paper fit together.
10. Finish the fox box by decorating it with stickers (optional) and place a treasure into the fox box if you desire to do so.
The first time you and your child makes a fox box, it will feel as though you are all thumbs when you assemble the box but after the first time, it becomes very easy to create the box.

 .
.


